Whether you enjoy background music while commuting to work or are serious about your car audio system offering studio-quality or concert-level performance, Rockford Fosgate has speakers, amplifiers, and subwoofer solutions for every application. The Prime series products are the most affordable offerings and include trickle-down tech from their industry-leading Punch and Power series. In this spotlight, we are going to look at the Prime Series replacement speakers, particularly the R165X3 6.5-inch set.
Rockford Fosgate R165X3 Design
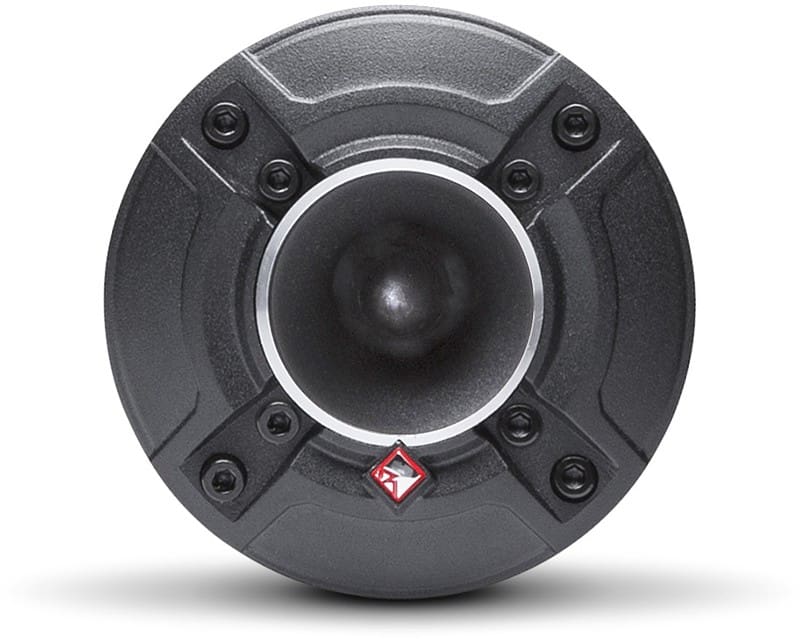
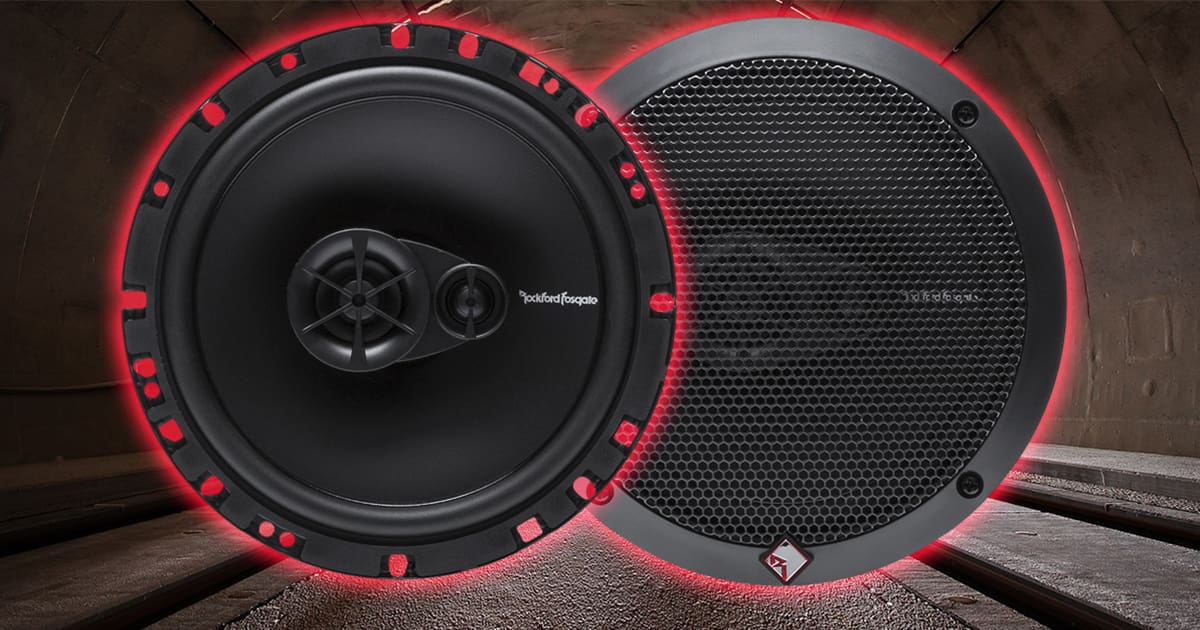
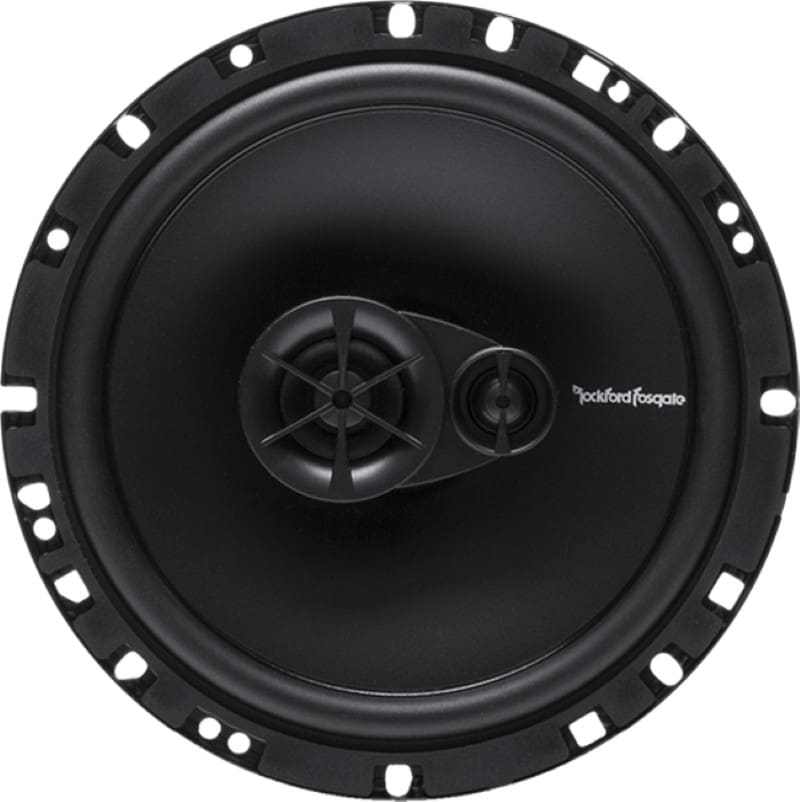
The R165X3 is a three-way coaxial speaker with a vacuum-formed polypropylene woofer cone and a rubber surround. Rubber surrounds last much longer than foam and are usually not found on speakers at this price point, so you can expect many years of enjoyment from the set. Each driver features a silk-dome midrange and a silk-dome tweeter, whereas most speakers use polyetherimide (PEI) plastic dome tweeters at this price point. The mass of the textile domes typically allows the drivers to play lower, so the R165X3 will be less directional in the upper midrange while still offering excellent coverage thanks to the compact tweeter.
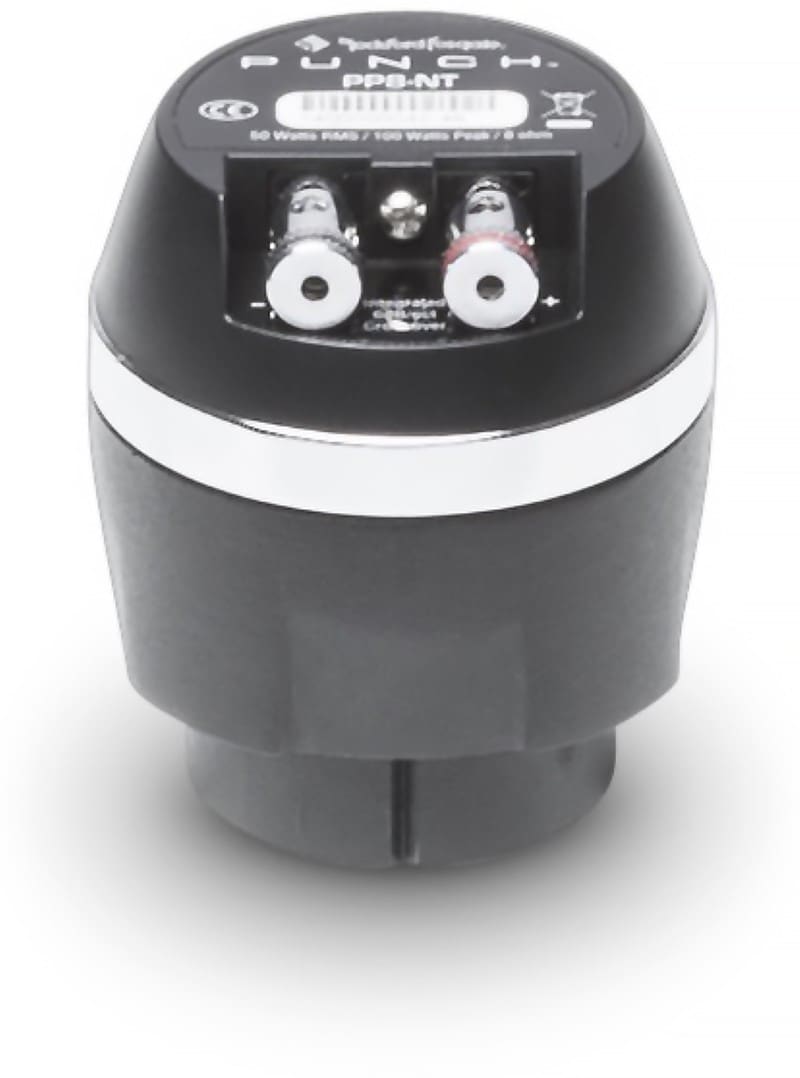
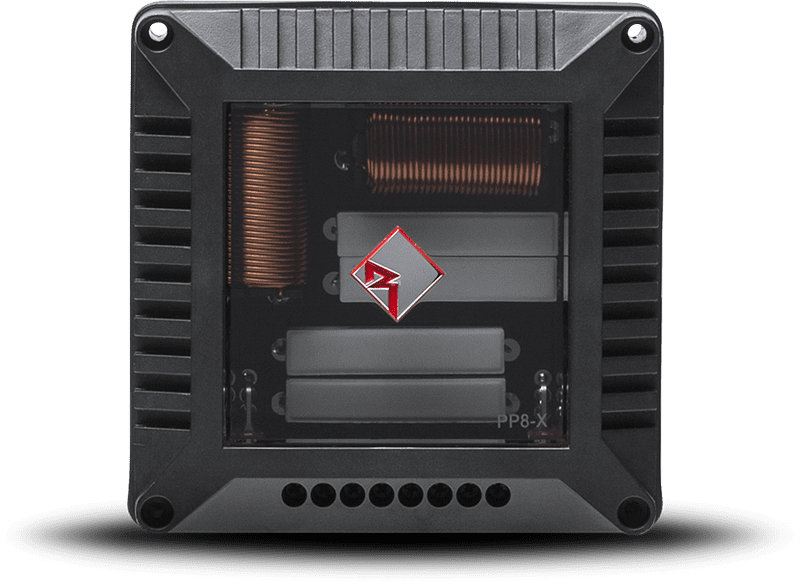
The drivers feature Rockford Fosgate’s Integrated Concealed Crossover (ICC) design. This design choice mounts the crossover parts to the stamped steel basket to save time during installation.
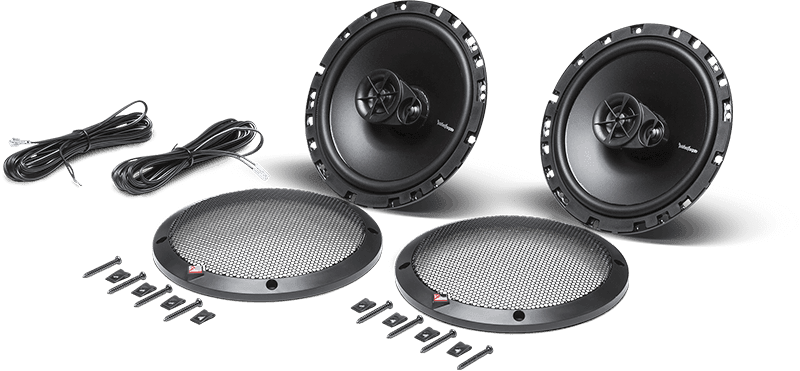
The R165X3 set includes a set of metal mesh grilles for applications where you are surface-mounting the speakers.
Mounting Options
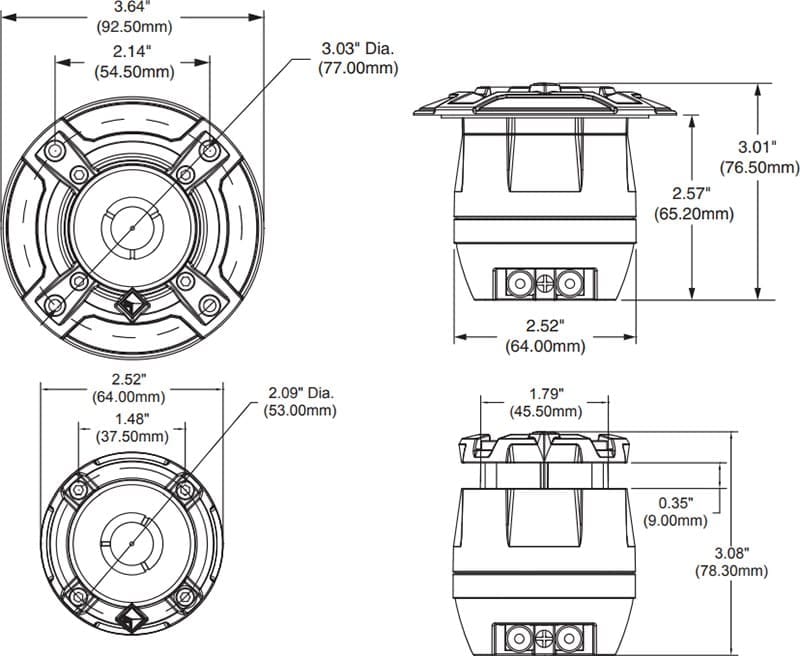
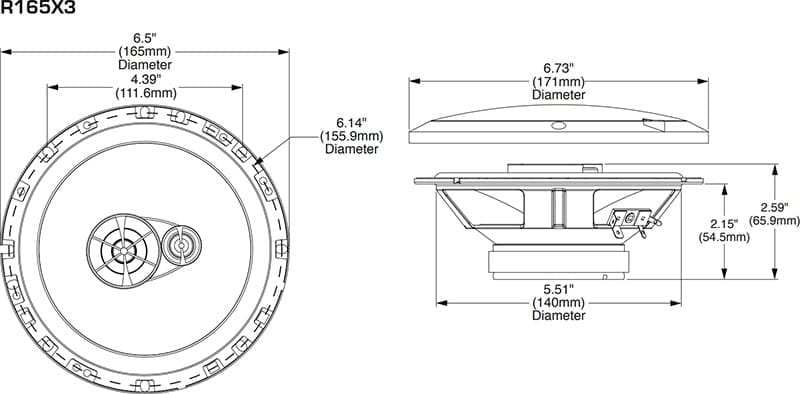
One of the challenges of upgrading speakers is finding a driver that fits your application. The R165X3 speakers require only 2.15 inches of mounting depth. The tweeter post protrudes from the driver’s front side, but this keeps the factory grille away from the woofer surround. The total protrusion from the mounting surface is 0.44 inches.
Rockford Fosgate also provided every common screw pattern in the mounting flange. There are 22 holes, which sets a record for any 6.5-inch speaker we’ve come across.
Driver Specifications
The R165X3 set is rated to handle 45 watts of power continuously with a maximum power rating of 90 watts. Sensitivity is rated at an impressive 91 dB when measured with one watt of power at a distance of one meter. The frequency response is 52 hertz to 20 kHz. All the driver specifications comply with the ANSI/CTA-2031 standard for car audio speakers. The woofer Xmax is 1.9 millimeters in each direction. Rockford Fosgate typically uses an Xmax specification where the driver reaches 10% total harmonic distortion. So, while the number might seem lower than competing products, these are raw laboratory measurements that reflect real-world performance.
The woofer features a one-inch diameter voice coil and a winding with a nominal impedance of four ohms. Regarding Thiele and Small electromechanical parameters, the woofer has a resonant frequency (Fs) of 69 Hz, an equivalent compliance of 12.9 liters, and a Qts of 0.75. These numbers indicate the driver is designed for an infinite baffle application like you’d find in a typical car door or the rear parcel shelf of a sedan.
Prime Series Speaker Family
The R165X3 is just one of seven speakers in the Prime coaxial family. The solutions include 4-inch, 5.25-inch, and 6.75-inch two-way coaxial speakers, two-way 5×7 and 6×9 speakers, and a three-way 6×9 speaker.
All are designed to offer great efficiency and power handling. This makes them ideal for use with aftermarket radios or basic factory-installed units that produce roughly 20 watts per channel. You can also extract even more performance and enjoyment by using the drivers with an external power amplifier.
Upgrade Your Speakers Today!
If you want an affordable 6.5-inch car audio speaker with great efficiency and clarity, drop into a local authorized Rockford Fosgate retailer and ask to audition the R165X3 set. We think you’ll be impressed. You can find an authorized retailer by visiting their website and using the locator tool.
Be sure to check out their Facebook, Instagram and YouTube feeds and channel to stay up to date with their latest product releases.
This article is written and produced by the team at www.BestCarAudio.com. Reproduction or use of any kind is prohibited without the express written permission of 1sixty8 media.